Recordings
To create a New Recording click on the button. The New Recording window will open with options for setting the type of data you would like to capture and options for starting and ending the recording. Any selected settings from your recording will be remembered for any subsequent recordings.
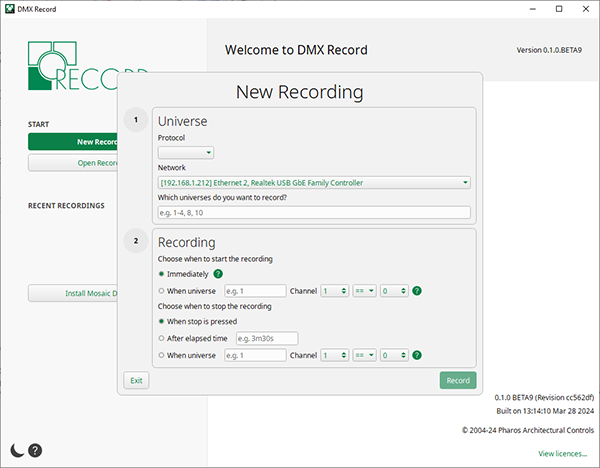
Universe settings
Protocol - DMX Record supports two eDMX protocols: Art-Net and sACN
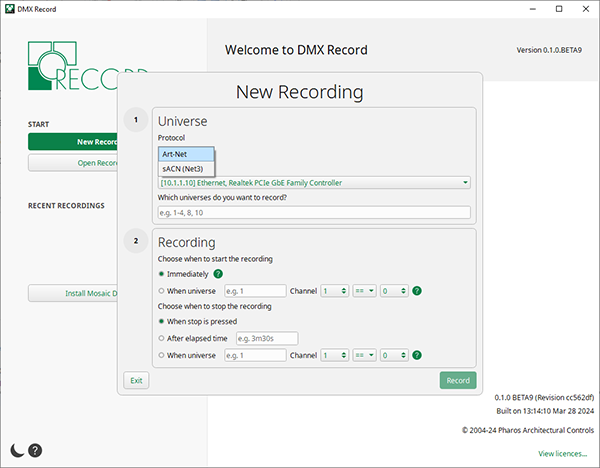
For more information see DMX Glossary.
Network - Here you can select the network adapter on your computer that your lighting console is connected to. If there is more than one network adaptor available, select the desired network from the dropdown list.
Which universes do you want to record? - Specify which universes you wish to capture data from, up to a maximum of 16 universes in one recording. You can specify just one universe number, or several, e.g. 1,3,7,9 or a range of universes, e.g. 5-16.
Recording settings
Choose when to start the recording:
Immediately - This is a default option and will enable you to start capturing data as soon as you click the Record button.
When universe - This option allows a channel value to trigger the start of the recording. You can either select an active channel that is part of the recording to start the capture, or programme a dummy fixture on any universe (it does not have to be one you are including in the recording) to trigger the start, e.g. a channel on a submaster with a 50% threshold - when the slider is moved up, it starts the recording and when down it stops the recording. Set the universe and channel number (between 1 and 512) then channel value (between 0 and 255) and the behaviour of the channel reaching or passing the threshold value to act as the cue:
| == | Equal to |
| > | Greater than |
| < | Less than |
Choose when to stop the recording:
When stop is pressed - This is a default option and will allow you to stop your recording manually using the stop button in the recording window.
After elapsed time - In this option you can specify a duration for your recording. The maximum length is 30 minutes. You can also set the time by using keys: s for seconds, e.g. 10s will display 10.00, and m for minutes, e.g. 10m will display 10.00.00. Combine these for more precise times, e.g. 25m40s will display 25:40.00.
When this option is selected, the stop button in the recording window can still be used to manually stop a recording.
When universe - This option allows a channel value to trigger the end of the recording. You can either select an active channel that is part of the recording to finish the capture, or programme a dummy fixture on any universe (it does not have to be one you are including in the recording). Set the universe and channel number (between 1 and 512), then channel value (between 0 and 255), and the behaviour of the channel reaching or passing the threshold value to act as the cue:
| == | Equal to |
| > | Greater than |
| < | Less than |
When this option is selected, the stop button in the recording window can still be used to manually stop a recording.
Once you have chosen your required settings, select the Record button to start your recording.